We always have a hands on approach when learning new stuff and this article will help you learn the basics of Elixir and the Phoenix Framework by building a basic blog.
We'll assume you already have Elixir and Phoenix up and running.
Our purpose here is to create a simple CRUD app which will allow us to use basic data operations like save, edit and delete. Let's start by creating a simple blog with posts and comments.
#1 Setup our Elixir project
To start a project in Elixir, we use Mix, a build tool which provides everything necessary to create and manage Elixir apps. First, we need to use a mix task to create our project:
$ mix phx.new blog_appThe mix task creates our new blog_app template and files. You should see something like this:
* creating blog_app/config/config.exs
* creating blog_app/config/dev.exs
* creating blog_app/config/prod.exs
* creating blog_app/config/prod.secret.exs
* creating blog_app/config/test.exs
* creating blog_app/lib/blog_app/application.ex
* creating blog_app/lib/blog_app.ex
...
* creating blog_app/assets/css/phoenix.css
* creating blog_app/assets/static/images/phoenix.png
* creating blog_app/assets/static/robots.txt
Fetch and install dependencies? [Yn] y
* running mix deps.get
* running mix deps.compile
* running cd assets && npm install && node node_modules/webpack/bin/webpack.js --mode development
We're almost there! Let's move into the project's folder:
$ cd blog_appThen configure your database in config/dev.exs and run:
$ mix ecto.createFinally, start your Phoenix app with:
$ mix phx.serverYou can also run your app inside IEx (Interactive Elixir) as:
$ iex -S mix phx.serverIf you chose "No" when asked to install dependencies, you can do it afterwards with the following mix command:
$ mix deps.getFor the next step open up config/dev.exs in a text editor and configure the database. Make sure that the username and password match the ones you have set up on your local machine. It should look like this:
config :blog_app, BlogApp.Repo,
  username: "postgres",
  password: "postgres",
  database: "blog_app_dev",
  hostname: "localhost",
  show_sensitive_data_on_connection_error: true,
  pool_size: 10
As prompted earlier, we then need to cd into our newly created project and run the $ mix ecto.create task to create the database:
$ cd blog_app
$ blog_app mix ecto.create
Compiling 14 files (.ex)
Generated blog_app app
The database for BlogApp.Repo has been created
Let's see if everything works as it's supposed to. We'll start up the server by running either mix phx.server or iex -S mix phx.server (IEx stands for Interactive Elixir). Our application will be running under http://localhost:4000.
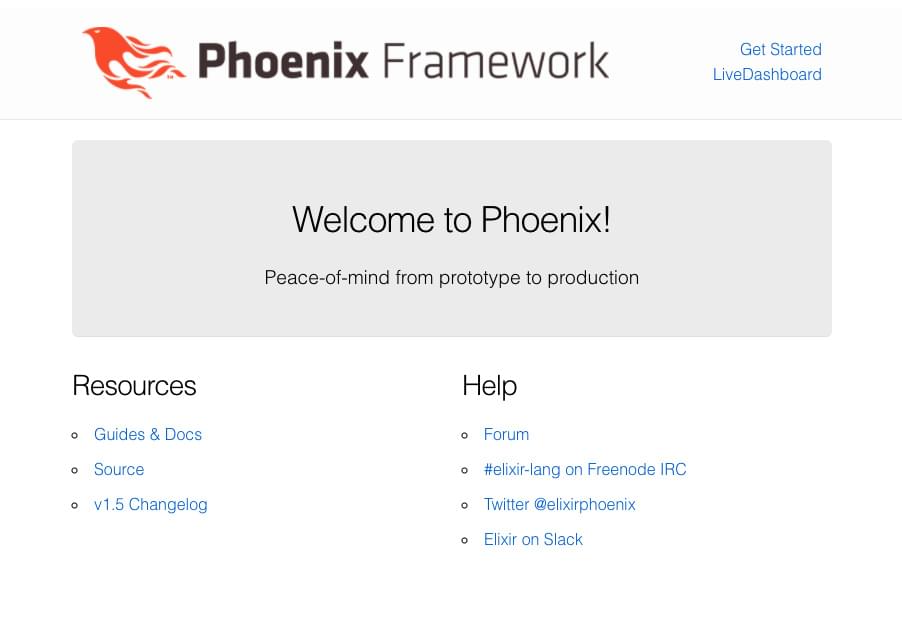
We should be presented with the "Welcome to Phoenix!" page:
#2 Create a Post resource
Phoenix provides an easy way to setup the basic resources we need through the use of generators - mix tasks which will build the respective modules. What we need is the phx.gen.html, which will generate the controller, views and context.
Fire up the terminal and enter this command:
$ mix phx.gen.html Posts Post posts title:string body:textWhat we did here, was creating the Post resource. The resource belongs to the Posts context and has a posts schema, with a title field of type string and a body field of type text.
The CRUD actions for our Post resource are now ready. The following files have been created:
$ mix phx.gen.html Posts Post posts title:string body:text
* creating lib/blog_app_web/controllers/post_controller.ex
* creating lib/blog_app_web/templates/post/edit.html.eex
* creating lib/blog_app_web/templates/post/form.html.eex
...
* creating lib/blog_app/posts.ex
* injecting lib/blog_app/posts.ex
* creating test/blog_app/posts_test.exs
* injecting test/blog_app/posts_test.exs
Add the resource to your browser scope in lib/blog_app_web/router.ex:
  resources "/posts", PostController
Remember to update your repository by running migrations:
  $ mix ecto.migrate
If we take a look in the lib/blog_app/posts/post.ex file of our blog_app, we'll see the posts schema matching the database table 'posts' we created.
defmodule BlogApp.Posts.Post do
  use Ecto.Schema
  import Ecto.Changeset

  schema "posts" do
    field :body, :string
    field :title, :string
    timestamps()
  end

  @doc false
  def changeset(post, attrs) do
    post
    |> cast(attrs, [:title, :body])
    |> validate_required([:title, :body])
  end
end
In lib/blog_app_web/controllers/post_controller.ex - you'll notice that we can access the Post resource via the Posts context we created.
defmodule BlogAppWeb.PostController do
  use BlogAppWeb, :controller
  alias BlogApp.Posts
  alias BlogApp.Posts.Post

  def index(conn, _params) do
    posts = Posts.list_posts()
    render(conn, "index.html", posts: posts)
  end

  def new(conn, _params) do
    changeset = Posts.change_post(%Post{})
    render(conn, "new.html", changeset: changeset)
  end
  ...
end
In the lib/blog_app/posts.ex we can see several functions that Phoenix implements by default.
def list_posts do
  Repo.all(Post)
end

def get_post!(id), do: Repo.get!(Post, id)

def create_post(attrs \\ %{}) do
  %Post{}
  |> Post.changeset(attrs)
  |> Repo.insert()
end

def update_post(%Post{} = post, attrs) do
  post
  |> Post.changeset(attrs)
  |> Repo.update()
end

def delete_post(%Post{} = post) do
  Repo.delete(post)
end

def change_post(%Post{} = post, attrs \\ %{}) do
  Post.changeset(post, attrs)
end
Now let's open the lib/blog_app_web/router.ex module and define the route for our new posts resource.
Under the get "/", PageController, :index line, add resources "/posts", PostController.
scope "/", BlogAppWeb do
  pipe_through :browser
  get "/", PageController, :index
  resources "/posts", PostController
end
This has generated a new database migration, therefore we need to run the task mix ecto.migrate to persist the changes.
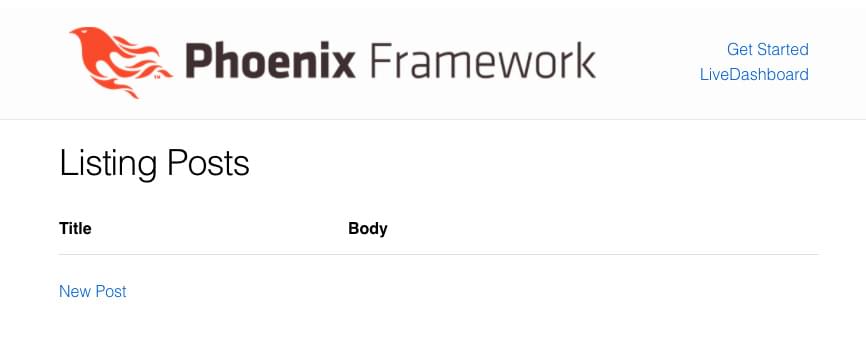
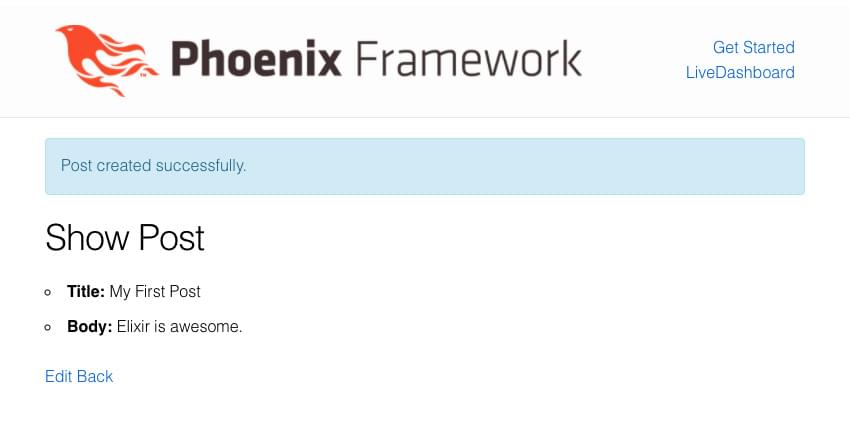
Now let's run our server again with iex -S mix phx.server and go to http://localhost:4000/posts. We'll see the Listing Posts page. Notice that we can do all the basic CRUD operations with posts.
Using mix phx.routes we can inspect all the existing routes for our app. We can combine it with grep, mix phx.routes | grep posts to inspect only the posts routes.
$ mix phx.routes | grep posts
post_path  GET    /posts           BlogAppWeb.PostController :index
post_path  GET    /posts/:id/edit  BlogAppWeb.PostController :edit
post_path  GET    /posts/new       BlogAppWeb.PostController :new
post_path  GET    /posts/:id       BlogAppWeb.PostController :show
post_path  POST   /posts           BlogAppWeb.PostController :create
post_path  PATCH  /posts/:id       BlogAppWeb.PostController :update
post_path  PUT    /posts/:id       BlogAppWeb.PostController :update
post_path  DELETE /posts/:id       BlogAppWeb.PostController :delete
#3 Add Comments to our Posts
Let's enable comments for our posts by using another Phoenix generator, phx.gen.context. This will create another context and the comments ecto schema:
$ mix phx.gen.context Comments Comment comments name:string
                content:text post_id:references:posts
The post_id:references:posts is the way you tell the generator to setup a relationship between Post and Comment. We'll see the post_id field added to the comments schema.
We're not finished yet, as we still need to define the association between the posts and the comments schemas ourselves.
We'll make use of the Ecto.Schema function has_many for the post.
defmodule BlogApp.Posts.Post do
  use Ecto.Schema
  import Ecto.Changeset
  alias BlogApp.Comments.Comment

  schema "posts" do
    field :body, :string
    field :title, :string
    has_many :comments, Comment
    timestamps()
  end

  @doc false
  def changeset(post, attrs) do
    post
    |> cast(attrs, [:title, :body])
    |> validate_required([:title, :body])
  end
end
Here we used the alias directive to reference the Comment like this: has_many :comments, Comment.
In the comment schema, we already have the post_id field added by the mix task, so we only need to add the post_id to the changeset below.
defmodule BlogApp.Comments.Comment do
  use Ecto.Schema
  import Ecto.Changeset

  schema "comments" do
    field :content, :string
    field :name, :string
    field :post_id, :id
    timestamps()
  end

  @doc false
  def changeset(comment, attrs) do
    comment
    |> cast(attrs, [:name, :content, :post_id])
    |> validate_required([:name, :content, :post_id])
  end
end
Now we need to run the mix ecto.migrate task again.
After we're done with associations, we need to make it possible for the user to see and interact with post comments from the app interface.
In the router module we need to add another resource for the comments, with the add_comment action and create its corresponding function in PostControler.
resources "/posts", PostController do
  post "/comment", PostController, :add_comment
end
In the post_controller.ex file we'll add the function:
This will allow the creation of a new comment in the database and associate it to a post. It will also load the post page and show a flash message with the status of the create operation.
def add_comment(conn, %{"comment" => comment_params, "post_id" => post_id})
do
  post = post_id
  |> Posts.get_post!()
  |> Repo.preload([:comments])

  case Posts.add_comment(post_id, comment_params) do
    {:ok, _comment} ->
      conn
      |> put_flash(:info, "Added comment!")
      |> redirect(to: Routes.post_path(conn, :show, post))
    {:error, _error} ->
      conn
      |> put_flash(:error, "Oops! Couldn't add comment!")
      |> redirect(to: Routes.post_path(conn, :show, post))
  end
end
Make sure to alias the BlogApp.Repo at the beginning of the post_controller file.
Now into the /lib/blog_app/posts.ex module we'll add the add_comment action. Also remember to alias BlogApp.Comments.
def add_comment(post_id, comment_params) do
  comment_params
  |> Map.put("post_id", post_id)
  |> Comments.create_comment()
end
We'll also need to create a simple form on the post's page in order to allow users to comment. To achieve this, we'll update the show action on the post controller. We need to preload comments from the Repo and include a Comment.changeset into its show.html template, and alias BlogApp.Comments.Comment to be able to use the Comment.changeset.
def show(conn, %{"id" => id}) do
  post = id
  |> Posts.get_post!
  |> Repo.preload([:comments])
  changeset = Comment.changeset(%Comment{}, %{})
  render(conn, "show.html", post: post, changeset: changeset)
end
After that's done, we'll create a comment_form.html.eex template:
<%= form_for @changeset, @action, fn f -> %>
<div class="form-group">
  <label>Name</label>
  <%= text_input f, :name, class: "form-control" %>
</div>
<div class="form-group">
  <label>Content</label>
  <%= textarea f, :content, class:"form-control" %>
</div>
<div class="form-group">
  <%= submit "Add comment", class:"btn btn-primary" %>
</div>
<% end %>
Now let's get to the lib/blog_app_web/templates/post/show.html.eex template and add in this line above the edit and back links:
<%= render "comment_form.html", post: @post, changeset: @changeset,
                 action: Routes.post_post_path(@conn, :add_comment, @post) %>
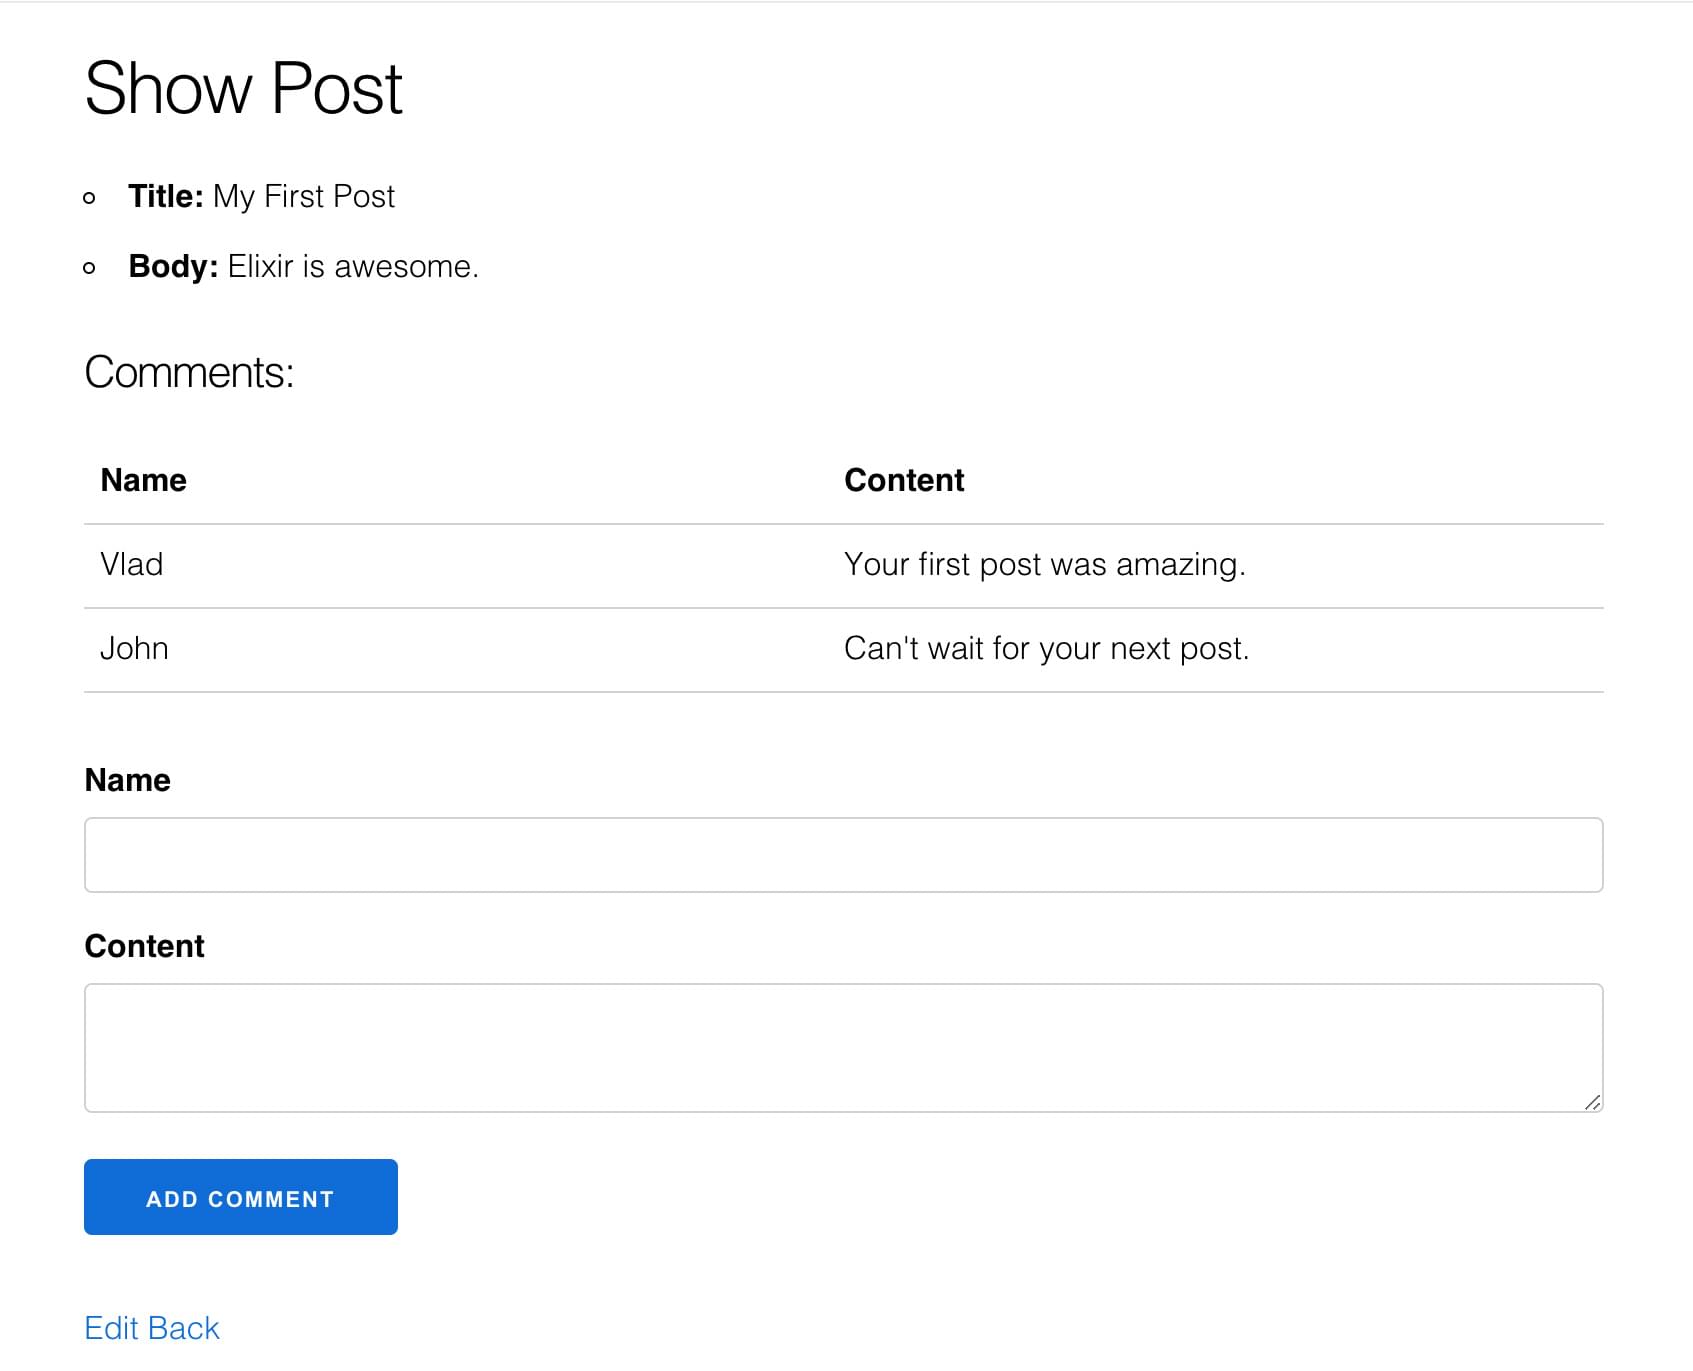
This will render our comment form on the post's page.
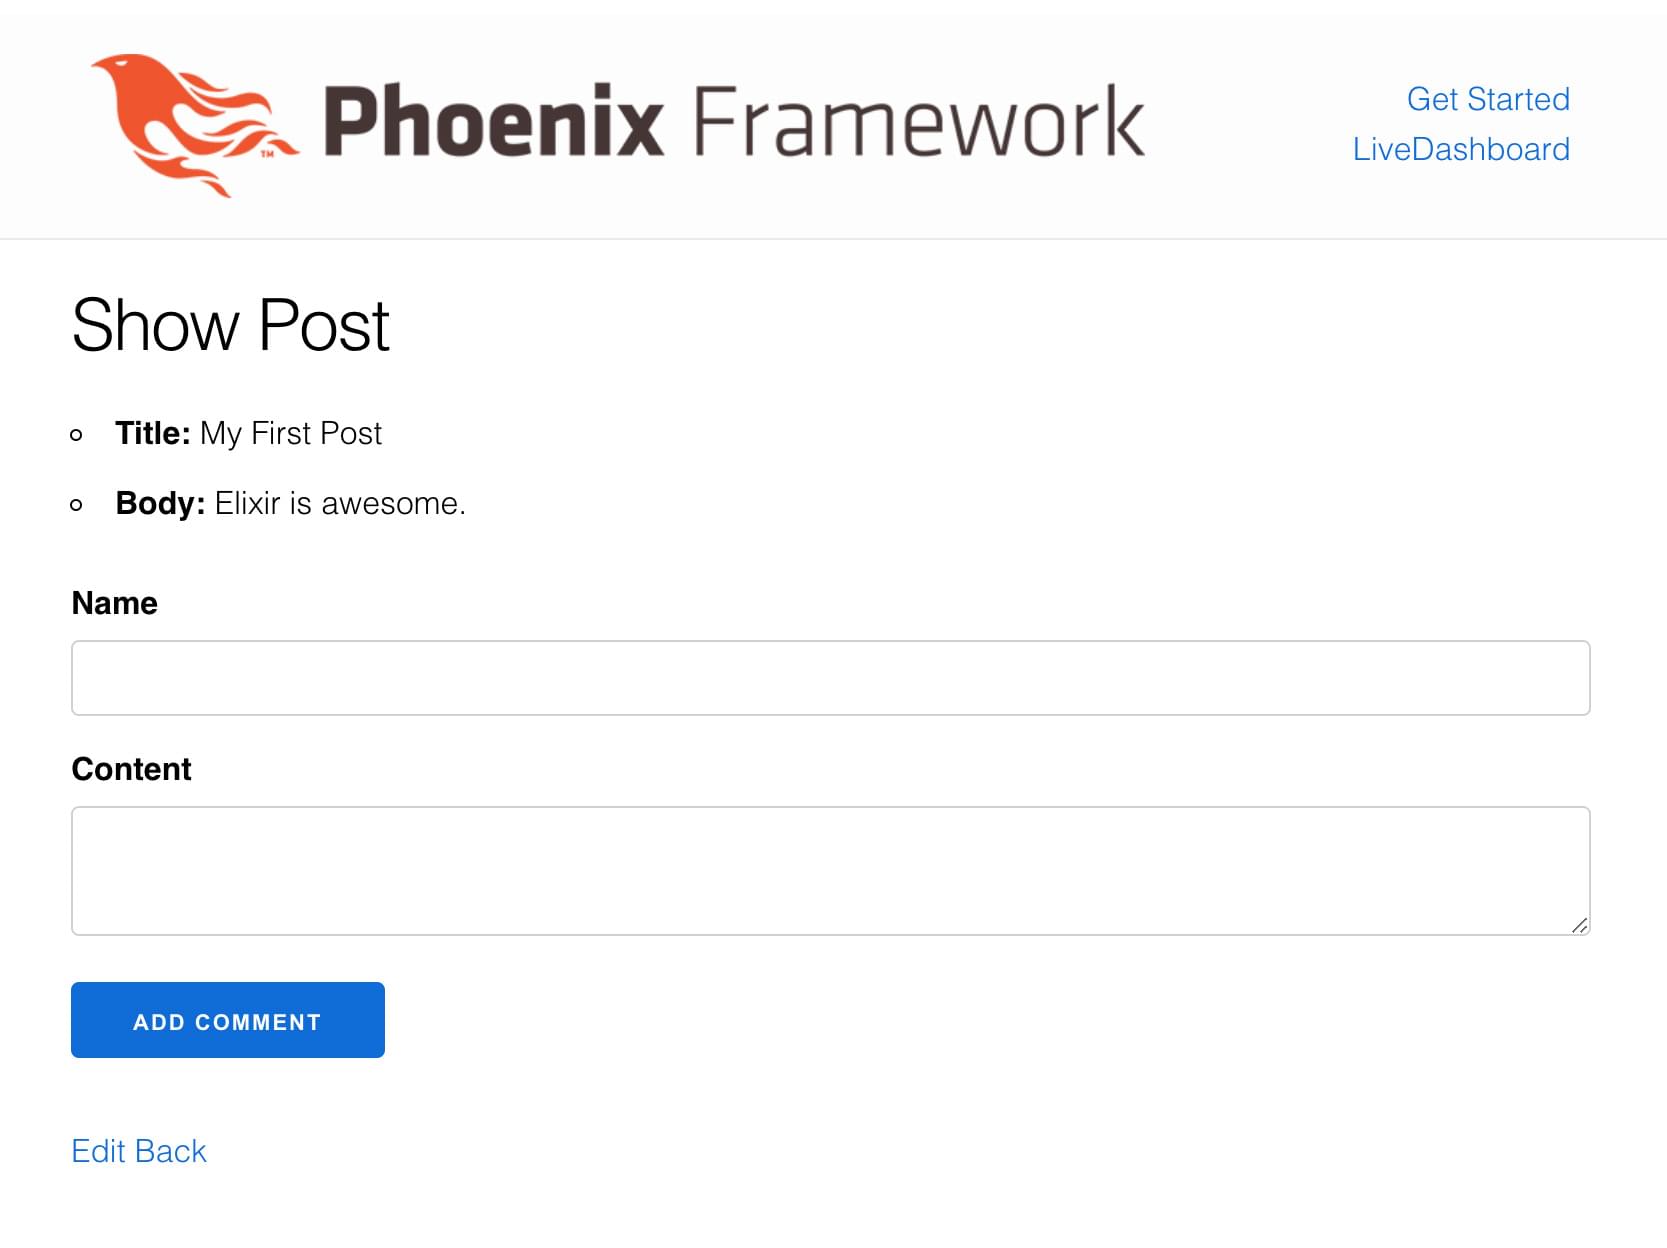
We can now add comments to our posts, but we can't see them yet. Let's display them in the blog pages.
#4 Displaying Post Comments
We'll need to create yet another template for our posts. Let's call it comments.html.eex.
<h3>Comments:</h3>
<div class="comments">
  <div class="comment header">
    <div>Name</div>
    <div>Content</div>
  </div>
  <%= for comment <- @comments do %>
    <div class="comment">
      <div><%= comment.name %></div>
      <div><%= comment.content%></div>
    </div>
  <% end %>
</div>
Then we'll render this new template on our posts page next to the comment_form.
<%= render "comments.html", comments: @post.comments %>Add a little bit of styling in app.scss:
.comments {
  padding-bottom: 2em;
}

.comment {
  display: grid;
  grid-template-columns: 1fr 1fr;
  padding: 0.5em;
  border-bottom: 1px solid lightgrey;
}

.comment.header {
  font-weight: bold;
}
The comments are now displayed:
What if we would like to see the total number of comments for a post? Let's do that too:
We need to define a function to the get the number of posts in the BlogApp.Posts context. So let's get back to the lib/blog_app/posts.ex and add this function after add_comment:
def get_number_of_comments(post_id) do
  post = Posts.get_post!(post_id)
  |> Repo.preload([:comments])
  Enum.count(post.comments)
end
Now, let's update BlogApp.PostView module in lib/blog_app_web/views/post_view.ex like so:
defmodule BlogWeb.PostView do
  use BlogWeb, :view
  alias BlogApp.Posts

  def get_comments_count(post_id) do
    Posts.get_number_of_comments(post_id)
  end
end
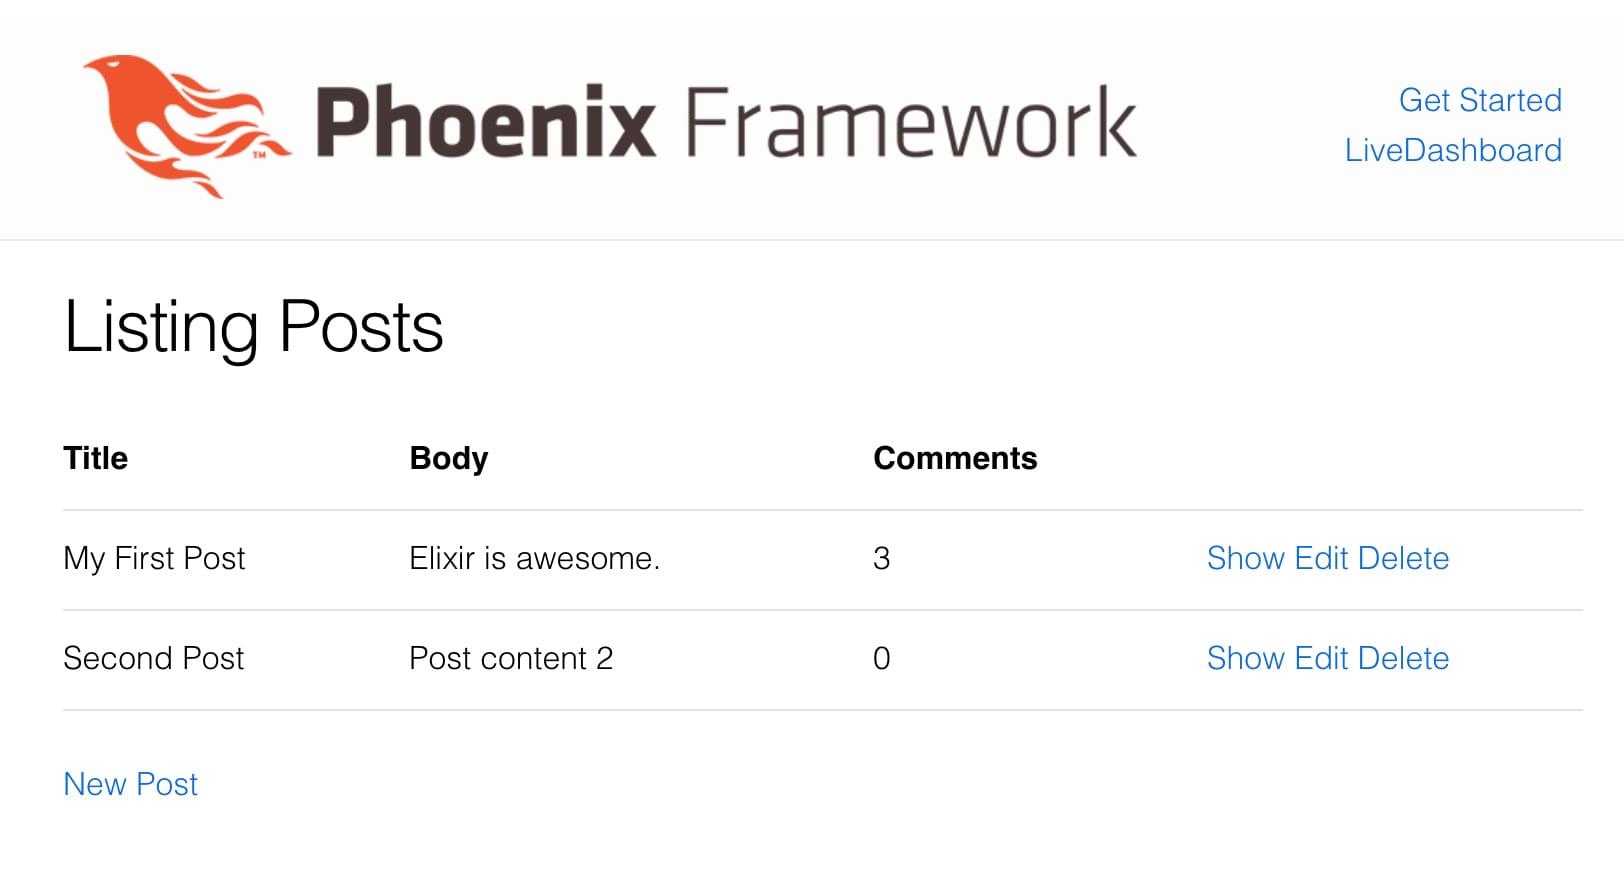
Finally, in the index.html.eex posts file we can add these lines to update our post.
<th>Comments</th> in the table head, and <td><%= get_comments_count(post.id) %></td> in the corresponding table body.
Here's how our blog looks now:
Hurray! We've got our basic blog up and running!
Make sure you check out the official Elixir and Phoenix documentation, which covers more advanced topics.
If we missed something, let's start a conversation on X.